Monday, February 20, 2012

The Lamp Saga Pt.1

So we inherited these lamps from my mother-in-law when we used to live in our apartment.  They work fine and kinda match our interior.. in a kinda-because-they're-free way.

So I started a journey to modernize them.
I went down to the local hardware store and got some Rustoleum Metal Finish paint in a brushed nickel color.
 I taped off the vase portion of the lamp and went to town.
The lamp before
I did very thin coats, and probably used 4-5 coats for full coverage.  It worked so well that I used it on the 2 brass light fixtures in our house.
after spray paint
Lamp is better but not finished yet...

Tuesday, February 7, 2012

Paint Review!!

So when we bought our new house in November, we noticed the previous owner really liked colorful rooms.  The little girls room was hello kitty pink (I still have yet to take a picture that does it justice- it glows at night).  The little boys room was bright baby blue.  (Did I mention the other bedroom was bright yellow?  Or the dining room was burnt orange? Or that the master closet was hot orange?)

Both rooms needed to be significantly toned down.  In our basement the left a ton of paint- all sorts of brands.  My first tackle was the dining room.
I found a can of America's Finest in a color that appeared to match the hallways.
Retails 11-17$ per gallon depending on features
Dining room before


Dining room after


So America's Finest, how did you rank? Poor.  The paint was thin (even after sitting for who knows how long in the basement) and had very poor coverage.  Yes I was painting over a bright orange wall.  So I painted a coat of Zinssers Bullseye 3 in 1 primer.
Retails locally for 11$!!
(Awesome stuff by the way. Best primer for the money)  So I primed the orange walls.  I then had to use 2 coats!! of the America's Finest to get any sort of coverage.
AF wrap up: 3 coats no primer, 2 coats with primer.  Not worth the effort, but for free paint from the basement and some help from friends not too too bad.  Would I buy it on my own free will? No.


Next up: Behr Standard Interior Paint (Eggshell finish)
So the baby blue bedroom didn't have super dark paint and it was semi-gloss finish.  So after a quick debate, I chose Behr Interior in eggshell without primer.  I did a small test patch (2 feet x 2 feet) to test if this would work without primer, and surprise! It covered just fine.
I used Behr Standard in Eggshell- looked something like this (cost me 24$/ gallon)

Blue Bedroom before (this again, doesn't do the room justice)

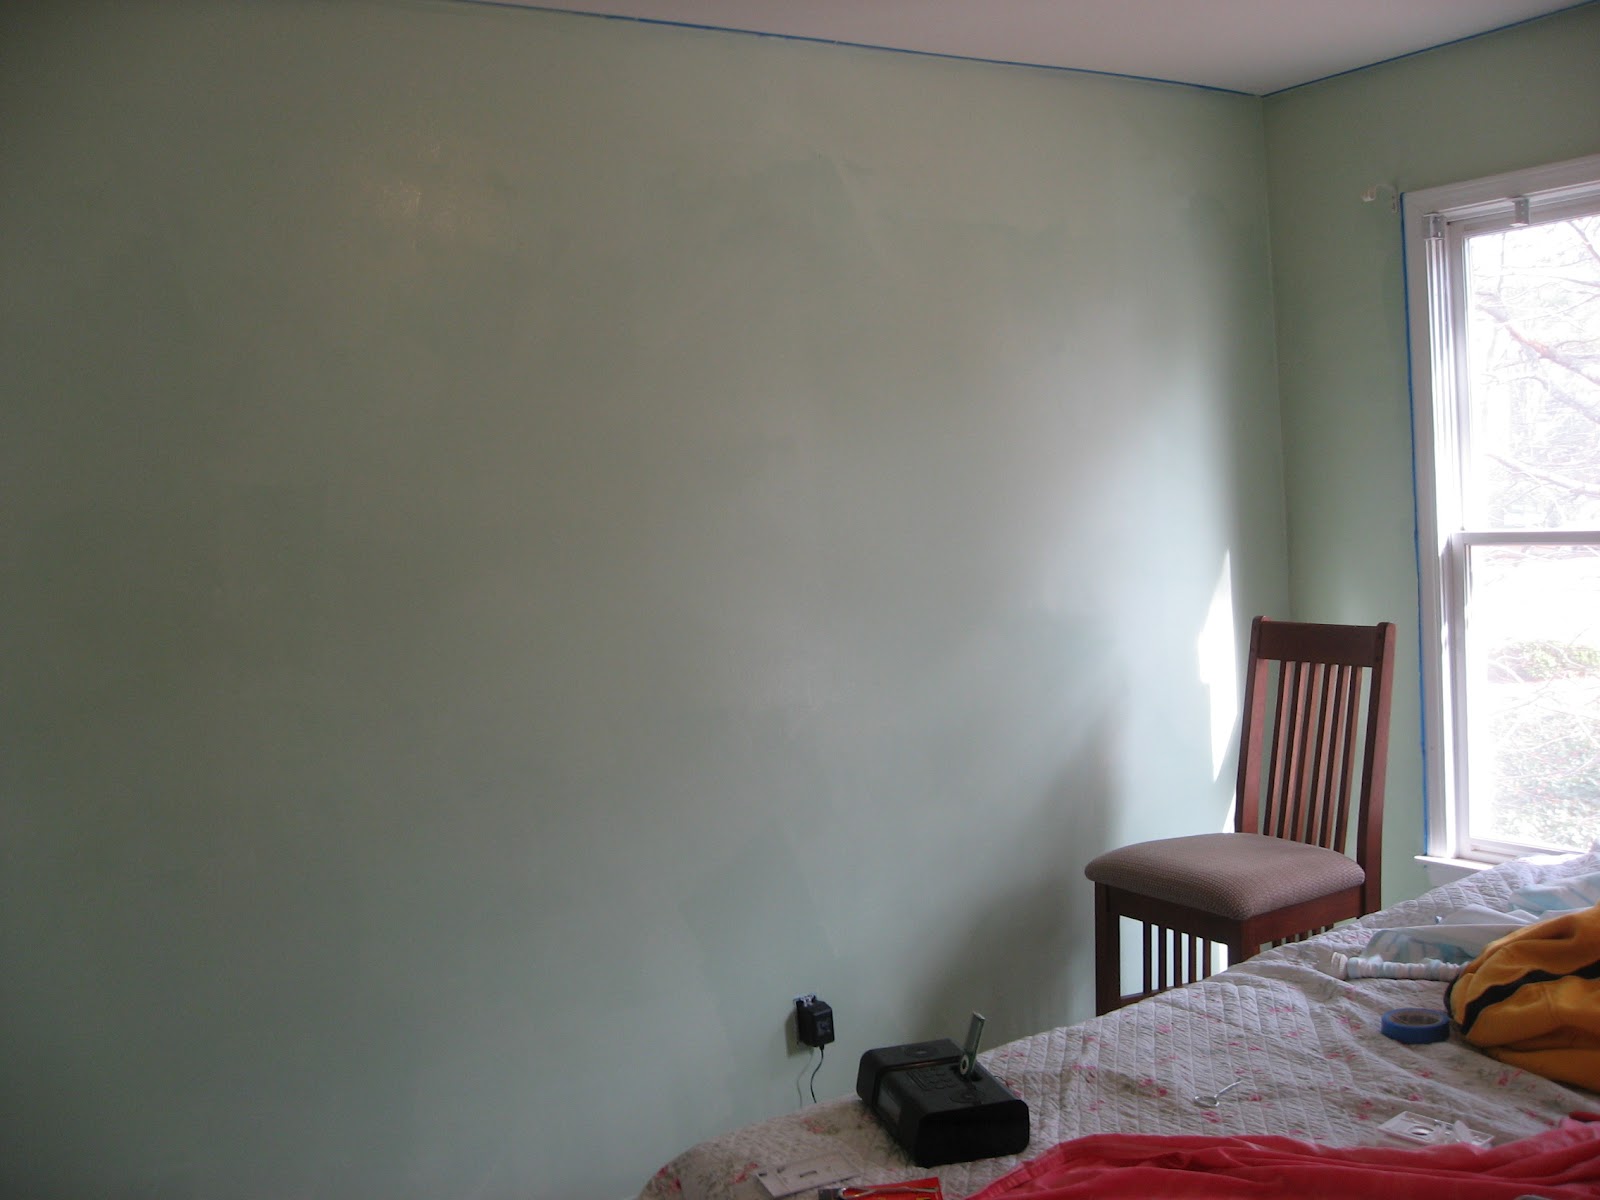
During the drying (I painted the room a light shade of cucumber)

again, during the drying

So I wanted to turn the room from baby blue to a calming shade of green.  When I did the test patch, I painted and walked away and checked it 24 hours later, so I didn't actually see it drying.  When I painted the whole room though, I did notice it drying and it freaked me out.  It dries incredibly uneven.  I was worried that I had made a huge error in judgement for not using a primer. But when the whole room dries, it is completely even and has full coverage after one coat.  one gallon covered the entire 12 X 10 ft room.

Behr Standard Interior wrap up: As it dries, you'll see patches of light and dark paint- do not worry yet!  For painting light paint on top of flat/semi-gloss paint that is also relatively light in color, one coat did the trick.  Behr paint was also significantly thicker than America's Finest, so roll the roller well before application to the wall.


Last paint that I am going to cover today is Behr Premium with Primer.
So the Hello Kitty Pink room.. not only was it nauseatingly pink, but it was HIGH gloss paint.  Thus, I went with the primer built in.  This was only 5$ more than the standard Behr without primer.

Hello Kitty before
After 1 coat in a calming grey (ignore painters tape mount and bedspread circa 2001)

So after 1 coat of Behr with Primer, there was full coverage of the hot pink, high-gloss mess.  It was astounding.  I was expecting to have to take 2-3 coats.  On the edges that I did with a paint brush, I did have to do some touch ups but not bad considering what I started with.


Monday, February 6, 2012

Balsamic Glazed Asparagus with Rotini

Serves: 2
Cook time: ~15 minutes (depends on your pasta)

Ingredients:

  • 2 portions of pasta (I prefer whole wheat but used 1/2 wheat and it was delicious)- any shape works
  • 1 cup balsamic vinegar
  • 1 tablespoon brown sugar (I cheated and used splenda blends shh!)
  • asparagus (one bunch or so)
  • water to boil pasta (heavily salted)
  • olive oil to drizzle on asparagus and drizzle for pasta
First preheat your oven to 400 degrees F and boil water for pasta.  Cook pasta until al dente.  While pasta is cooking, hold asparagus with both hands and slightly bend until it snaps, this removes the hard/woody part.  If you're feeling lazy, line up all your asparagus with the broken one and cut off approximately the same amount from the other pieces or hand break the rest of your bunch. Drizzle asparagus with olive oil and roast in oven until slightly golden, ~10-15 minutes.  

Meanwhile..  in small sauce pot, reduce balsamic vinegar until thickened and reduced to a few tablespoons.  Add brown sugar and let incorporate.  

When asparagus is roasted, remove from pan and let cool.  Slice into 3-4 pieces (1-2inches in length).  Add to drained pasta.  Pour over balsamic sauce and mix.


Asparagus spears after breaking off the woody ends, before roasting
Cut into 1-2inch pieces

For added flavor, try sprinkling a little Parmesan cheese on top!

Sunday, February 5, 2012

Jazz Up Outlet Covers!

So I recently painted one of the bedrooms in our home and the previous owner had gotten hot pink paint on the outlet covers.  So to fix them, I decided to break out the mod podge!

Materials:

  • mod podge
  • foam brush
  • scissors
  • outlet to be covered
  • scrapbook paper
  • pencil (or other writing implement)
  • razor/ scapel/ knife
  • patience (what? who has those for sale? :)  )
Start by cutting your scrapbook paper down to slightly larger than your outlet cover.  Remember, the outlet cover has curved edges, so to fully cover you need 0.5cm or so larger than the outlet.  I found that I can get 5 outlets out of one scrapbook page.

Once you have your paper pieces, place your outlet on the backside of the paper and trace the actual outlet holes (don't worry about the screw hole).  Now I experimented with several ways to cut out the outlet holes.  You can A) razor carefully around the whole shape or B) just razor the curvy sides and then razor through the shape to connect the two sides and fold up. (yeah.. see the pictures below).  I preferred method B.

Once you have your shapes ready, mod podge the outlet first, then the paper.  Why this order?  Not all scrapbook paper is created equal I found.  If you do the paper first and it's cheap scrapbook paper, the paper gets super saturated and the design will actually come off.

Use your fingers to line up the outlet holes and then use your hands to hold 2 of the curved sides.  Hold for 10-15 seconds and then switch and hold the opposite sides.  Squish up the corners, don't worry if you have extra, we will cut it off in the end.

Once the paper is adhered to the curved edges, mod podge the top and put it down.

After the mod podge is completely dry, trim corners and edges on the back side.
Now, to put it back on the wall, use a sharp object (like another screw or the scissors) and slightly puncture where the screw hole is, then place the normal screw in.

I used matte mod podge
cut down to outlet size

place outlet on backside for tracing

After tracing, cut out shape (A) or cut curved sides and then across (B)

pop shape through (method B)


Mod podge outlet first!

Use outlet holes to line up paper

hold sides first

switch and hold other sides after 15 seconds

after glazing top with mod podge and drying

after glazing top with mod podge and drying

in the wall!


TIP!  If you didn't cut the outlet holes perfectly and are having trouble getting it on the wall correctly, just place it approximately and start screwing.  The force of the screw will fit it correctly.


Friday, February 3, 2012

Cheesy Chicken Broccoli Casserole

Serves: 4 or 2 dinners with lunch leftovers
Cook time: 30 ish minutes

Ingredients:

  • 1 boneless, skinless chicken breasts, cooked & cubed or shredded
  • 1/2 cup of mayo
  • 1 can of cream of chicken soup (I normally use the 98% fat free)
  • 1/2 cup shredded sharp cheddar cheese 
  • 1/2 cup mexican blend (or other blend of cheese that you prefer)
  • 1 bag frozen chopped broccoli, thawed
  • olive oil for drizzle
  • panko for top
Preheat oven to 350.

Mix chicken, cheeses, mayo, broccoli and cream of chicken soup in a bowl.  Spray casserole dish with nonstick spray (because I am paranoid) and pour mixture into.  Top with 1/4-1/2C panko (or other bread crumbs) and drizzle lightly with olive oil.  The olive oil will help promote browning.

Cook for 30 minutes until cheeses are gooey and bubbly.
Serve over pasta or rice.

Thawed store brand chopped broccoli
Cream of chicken soup

Look at that gooey cheese and crunchy crust with the bright green broccoli- yum!